Popular searches: KB Main Page, AI Chat, Widgets
Adobe – Adding the “Exhibit Stamp”
Step One
Download the Exhibit Stamp PDF (below) and save on your desktop or somewhere easily accessible.
Step Two
You need to locate the Adobe Exhibit Stamp Folder on your computer.
Open up your file explorer 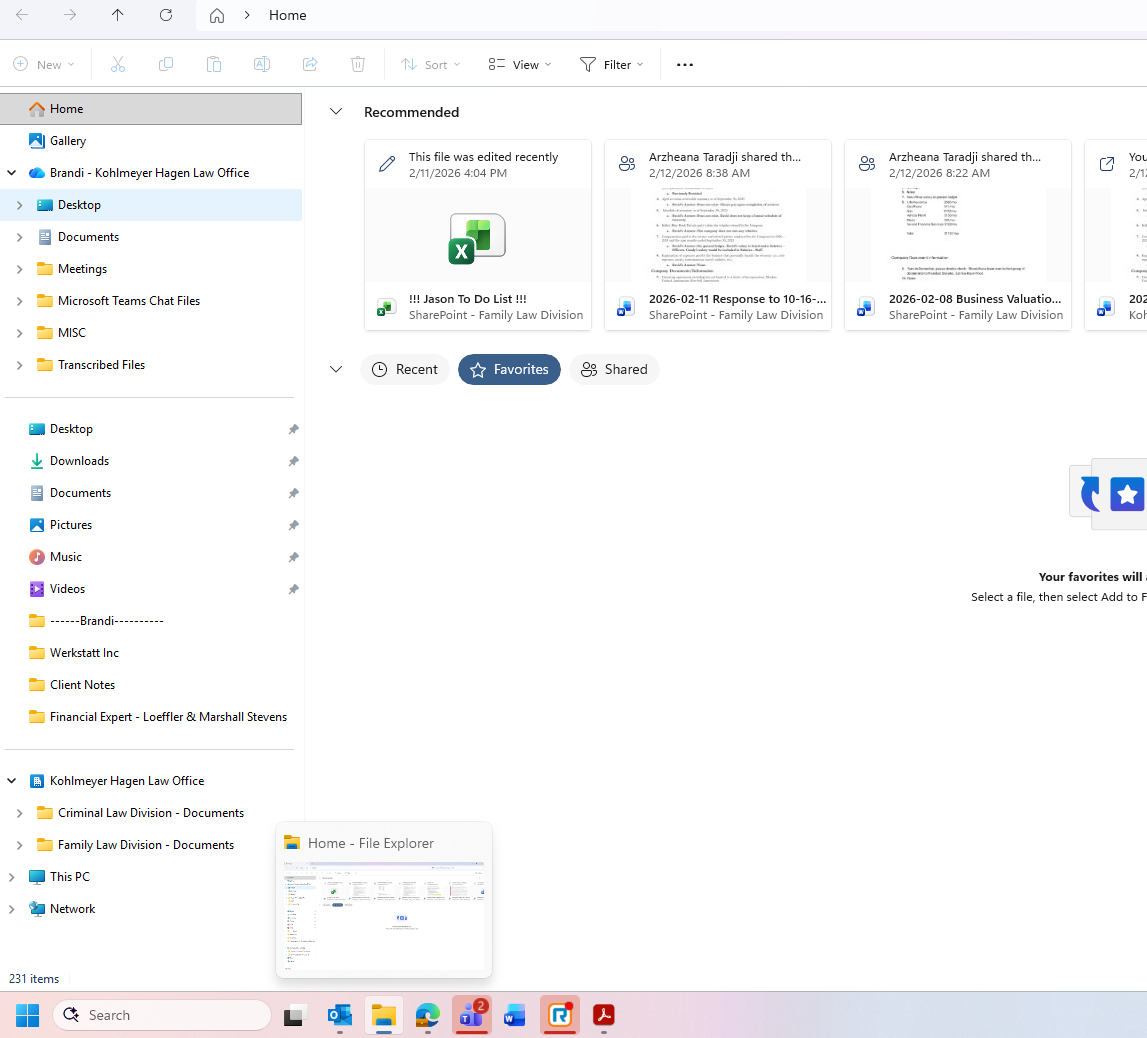
Navigate (click) to the following
OPTION 1
- This PC
- Windows (C:)
- Users
- (select your name)
- AppData (if you don’t see this, it may be “hidden”. To view hidden folders Click “View” at the top, Click “Show”, and check off “Hidden items.”)
- Roaming
- Adobe
- Acrobat
- DC
- Stamps
If those options don’t seem to be in your folders, try Option 2 below:
Option 2
- this PC
- Windows
- Program Files
- Adobe
- Acrobat DC
- Acrobat
- plug_ins
- annotations
- stamps
Mac Options:
– On a Mac w/ Acrobat Pro 9, the directory location is slightly different. Open Finder, Hold the Option key, and click Go, Library. This will open a window with a directory structure. Click on Application Support, Adobe, Acrobat. For Acrobat Pro 9, the directory at this point is 9.0_x86, click on that directory, and then the Stamps directory. Copy the Exhibit-Stamp.pdf file to this Stamps directory. If you have a different version of Acrobat, it will probably be a different directory, but should follow one of the above patterns.
Step 3
Move the Exhibit Stamp PDF into the “Stamps” folder. If you currently have Adobe open, restart it.
Step 4
Verify it worked by trying to label an Exhibit. See: Exhibit Stamping / Labeling in Adobe – K|H Law Wiki (theintervenors.com)